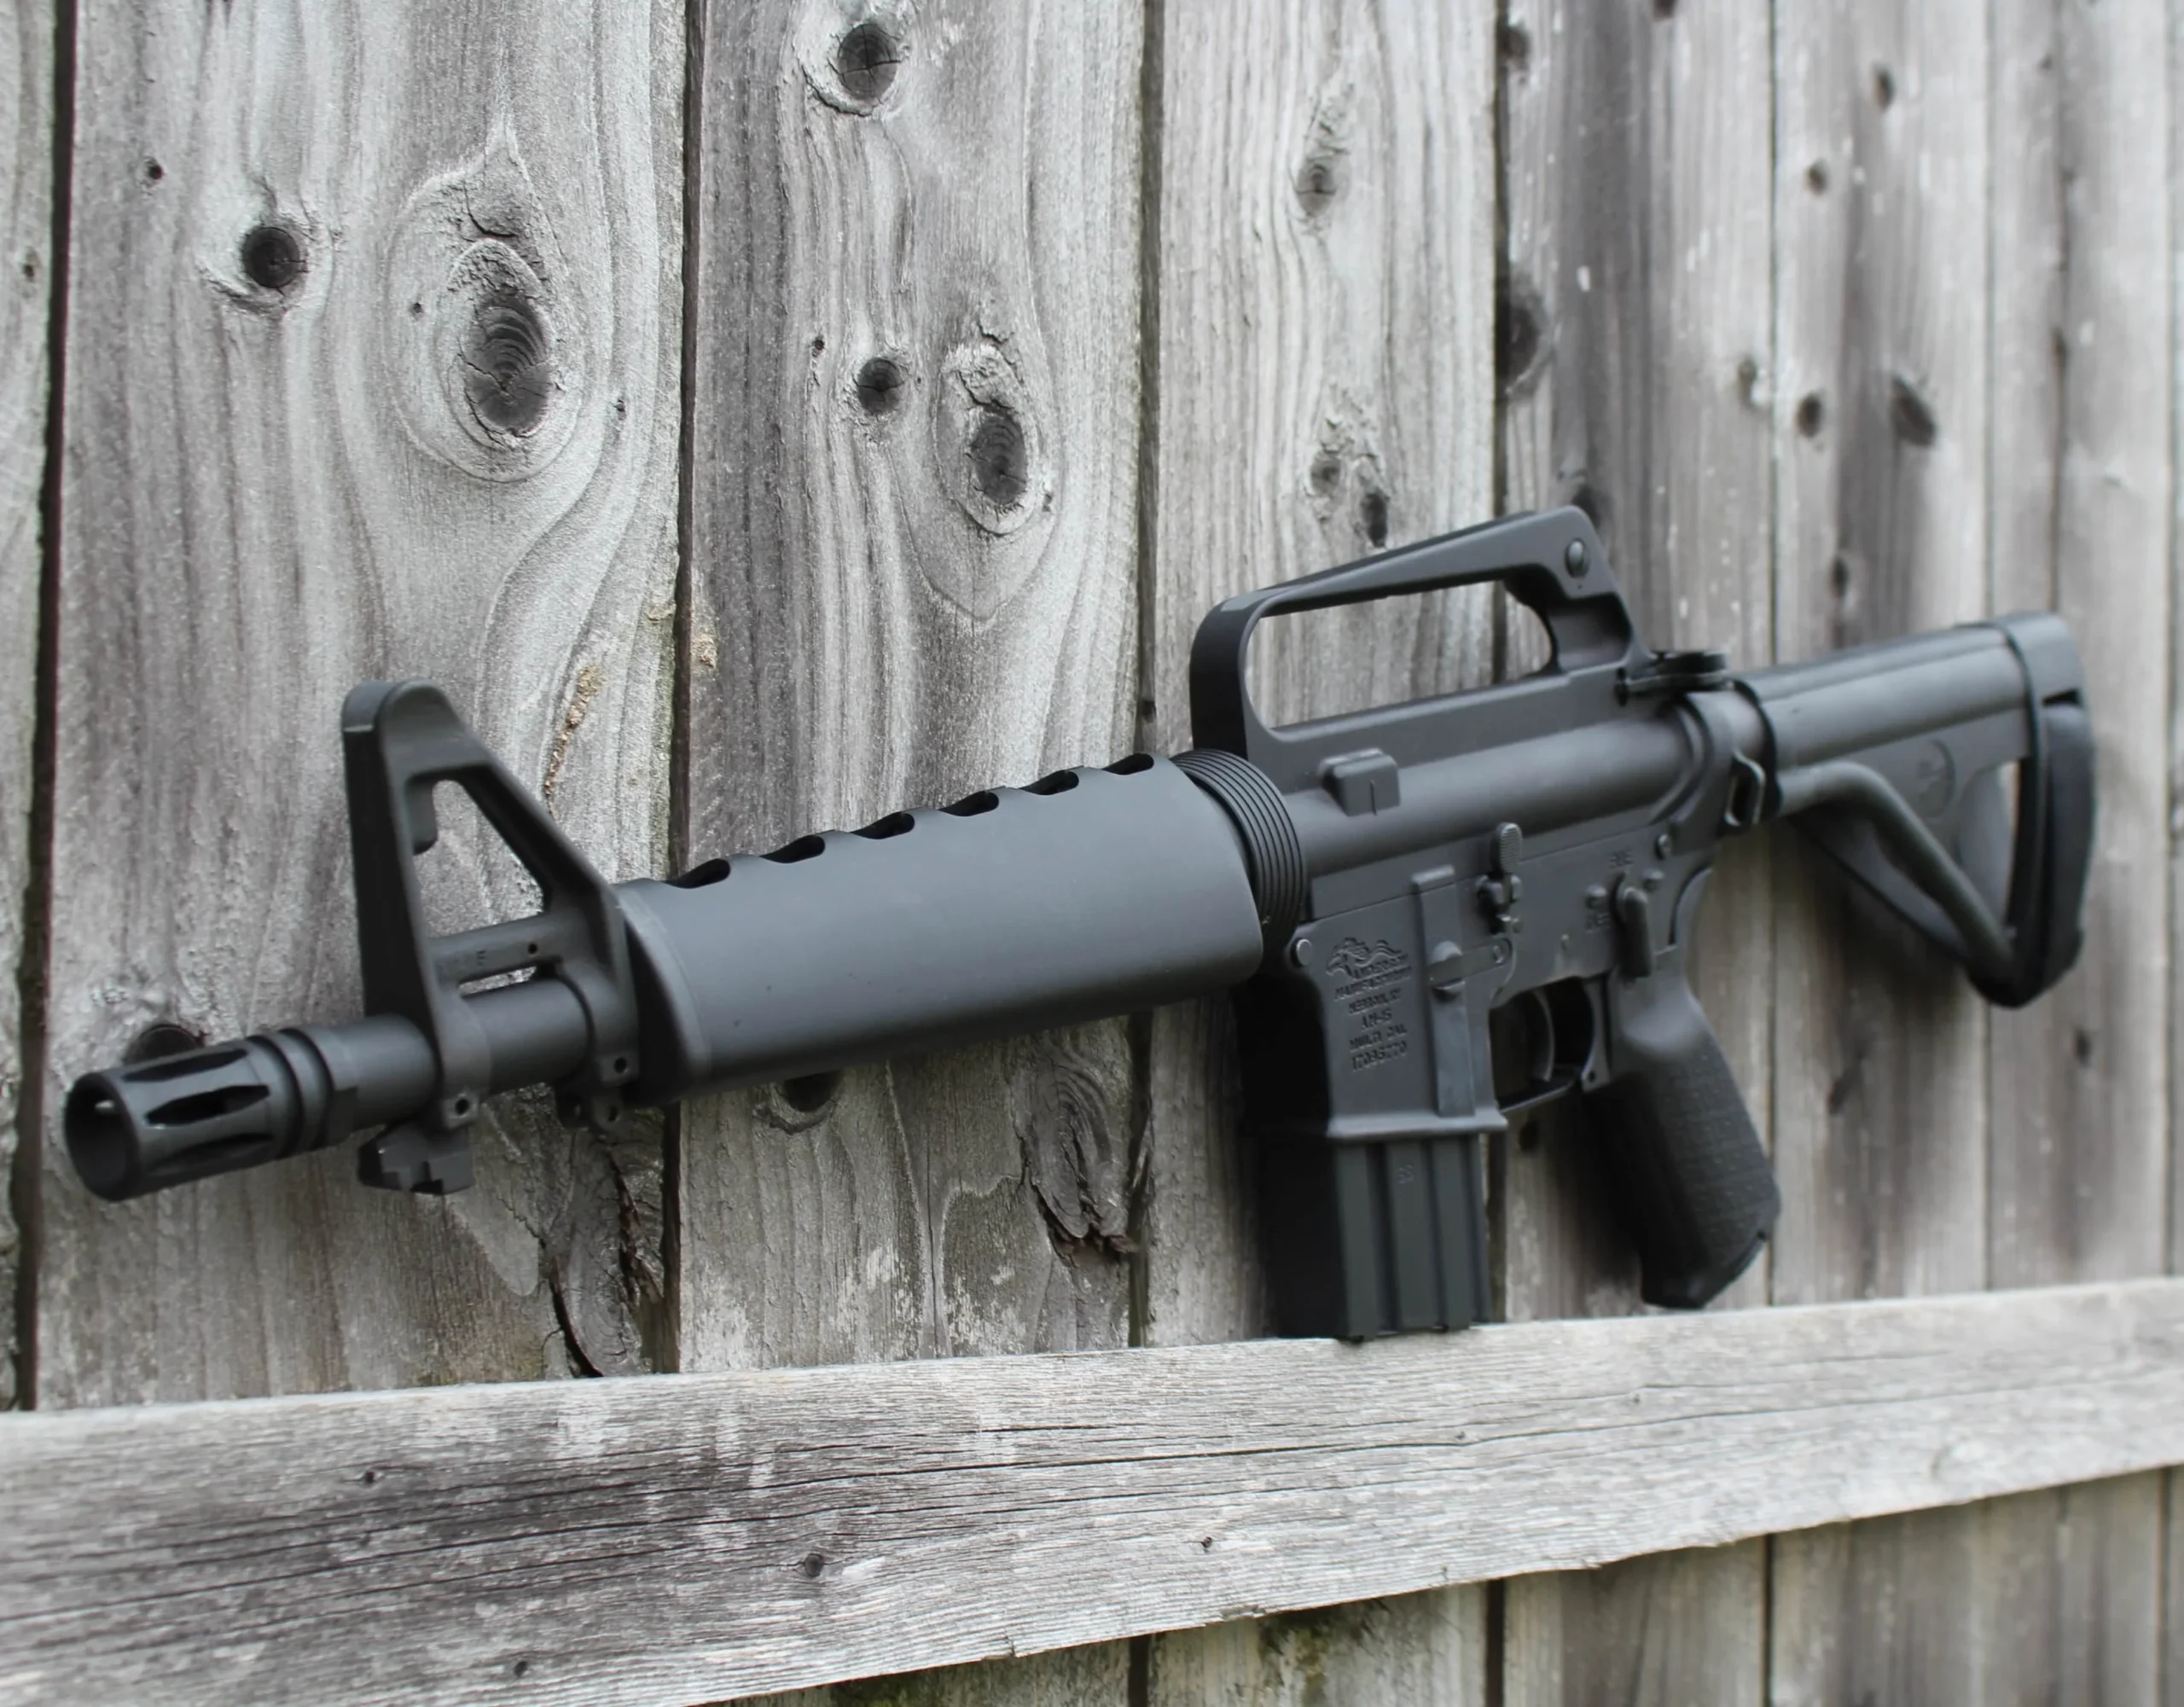
For firearms enthusiasts and rifle owners, enhancing both the functionality and aesthetics of their firearm can be a rewarding experience. One popular modification is installing a triangle handguard with collar, which can improve the ergonomics of your rifle while giving it a distinct, retro look. In this comprehensive guide, we’ll walk you through the step-by-step process of installing a triangle handguard with a collar, ensuring a secure and professional fit. Whether you’re a seasoned gunsmith or a DIY enthusiast, this guide will provide you with all the information you need to get the job done efficiently.
Tools Needed
Before you start the installation process, it’s important to gather all the necessary tools. Having the right equipment will not only make the installation easier but also ensure that you get a snug and secure fit.
Here’s what you’ll need:
- A triangle handguard with a collar
- Delta ring assembly
- Armorer’s wrench
- Flathead screwdriver
- Punch set
- Hammer
- Gun vice or gun stand (optional, but recommended)
- Allen wrenches (for any screws that may come with the handguard)
Preparation
Before diving into the installation, it’s critical to ensure that your rifle is unloaded and safe to work on. Follow these steps to prepare your firearm for the installation:
- Unload your rifle: Make sure the magazine is removed and there’s no round in the chamber.
- Safety check: Double-check that the rifle is clear and safe to handle.
- Disassemble upper receiver: Remove the upper receiver from the lower receiver for easier access.
- Remove the old handguard: If your rifle already has a handguard installed, use the delta ring to slide it off.
Once the rifle is prepped and the old handguard is removed, you’re ready to move on to the installation.
Step 1: Delta Ring Assembly Installation
The first component to install is the delta ring assembly. This is an essential piece for securing the triangle handguard with the collar in place. Follow these steps to install it:
- Slide on the delta ring: Place the delta ring over the barrel, ensuring that the spring and the barrel nut are in place.
- Tighten the barrel nut: Using the armorer’s wrench, tighten the barrel nut securely to prevent any movement during firing. This part holds the handguard in place, so it must be fastened correctly.
- Install the retaining spring: Once the delta ring and barrel nut are tight, attach the retaining spring to ensure the delta ring assembly stays locked in place.
This step is crucial for the overall stability of the handguard. Ensure that everything is properly aligned before moving on to the next step.
Step 2: Install the Collar
The collar is the part that provides additional stability and helps secure the triangle handguard. It’s important to get this part installed correctly to avoid any wobbling or movement when the rifle is fired.
- Align the collar: Slide the collar onto the barrel, ensuring that it is properly aligned with the gas tube.
- Check for gas tube clearance: Make sure there is enough clearance for the gas tube to operate without interference.
- Secure the collar: Once you’re sure the collar is aligned properly, use the provided screws (or Allen wrenches, if applicable) to secure it in place. The collar should be snug, but not overly tight, as you’ll need some flexibility to adjust the handguard.
Step 3: Installing the Triangle Handguard
With the collar securely in place, it’s time to install the triangle handguard. This step is relatively simple, but it’s important to ensure that the handguard fits snugly into both the delta ring and the collar for maximum stability.
- Insert the handguard: Align the triangle handguard with the delta ring and the collar, making sure it fits properly in both components.
- Secure the handguard: Using a flathead screwdriver or any other tool provided with the handguard, tighten the screws or fasteners that came with it. Make sure the handguard is tight and doesn’t wobble when handled.
Step 4: Final Inspection and Testing
Once the triangle handguard is securely in place, it’s essential to perform a thorough inspection to make sure everything is properly installed. Here’s a quick checklist for your final inspection:
- Check for any wobbling: Gently shake the handguard to ensure it’s secure and doesn’t move.
- Inspect the alignment: Make sure the handguard is properly aligned with the barrel and gas tube.
- Function test: Test the firearm’s functionality by cycling the action and ensuring everything moves smoothly.
Step 5: Reassemble the Rifle
After you’ve completed the installation and checked that everything is properly fitted, it’s time to reassemble your rifle. Here’s how:
- Reattach the upper receiver: Connect the upper and lower receivers together and secure them with the takedown pins.
- Perform a final check: Give the rifle a final once-over to ensure that everything is in working order.
Once reassembled, your rifle should be ready for use with its new triangle handguard and collar. Take it to the range to test how the new setup feels and performs.
Benefits of a Triangle Handguard
Installing a triangle handguard with a collar offers several benefits, both functionally and aesthetically. Here are some of the top advantages:
- Enhanced ergonomics: The unique shape of the triangle handguard provides a comfortable grip, making it easier to handle the rifle, especially during extended periods of use.
- Improved stability: The collar helps secure the handguard in place, reducing any potential wobble or movement during firing.
- Retro aesthetics: The triangle handguard gives your rifle a classic, vintage look reminiscent of older military-style firearms.
- Durability: Triangle handguards are typically made from robust materials, ensuring they can withstand harsh conditions and heavy use.
Conclusion
Installing a triangle handguard with a collar is a simple yet effective modification that can enhance both the look and feel of your rifle. By following the steps outlined in this guide, you’ll be able to complete the installation process with confidence, ensuring a secure fit and professional finish. Remember to always follow safety precautions when working on firearms and consult a gunsmith if you encounter any difficulties.
With your new handguard installed, your rifle is now ready for action, whether on the range or in the field.
If you want to learn more information please visit: newsweekblog.com


